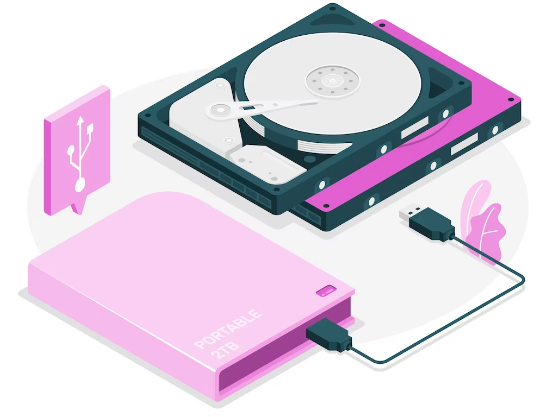
A Beginner's Guide to Recovering Deleted Partitions
Losing a partition on your computer can be a daunting experience, but it's important to know that all is not lost. With the right tools and knowledge, you can recover deleted partitions and restore your valuable data. In this beginner-friendly guide, we'll walk you through the process of recovering a deleted partition step by step, ensuring that you can regain access to your files and get back to work.
Understanding Partitions
Before we dive into the recovery process, let's briefly discuss what partitions are. A partition is a section of a hard drive or SSD that's designated for a specific purpose, like storing your operating system, applications, and files. When a partition is deleted, the data it contains is not immediately erased; rather, it becomes marked as "free space" that can be overwritten by new data. This means that with the right tools, you can often recover the lost partition and its contents.
Step 1: Stop Using the Drive
The first and most crucial step is to stop using the drive that contained the deleted partition. Continuing to use the drive increases the risk of overwriting the data, which can make recovery more difficult or even impossible. If possible, disconnect the drive from your computer until you're ready to begin the recovery process.
Step 2: Choose the Right Recovery Tool
There are various partition recovery tools available, both free and paid, each with its own set of features and capabilities. For beginners, we recommend using user-friendly options like ONERECOVERY, EaseUS Partition Master, or TestDisk. These tools are designed to be intuitive and effective, making them ideal choices for those new to partition recovery.
Step 3: Install and Launch the Recovery Tool
After choosing a recovery tool, download and install it on a separate drive or computer. Avoid installing it on the drive from which you'll be recovering the partition to prevent overwriting any data. Once installed, launch the program and ensure the affected drive is connected to your system.
Step 4: Scan for Deleted Partitions
With the recovery tool open, select the drive that previously contained the deleted partition. Look for an option like "Partition Recovery" or "Scan for Lost Partitions" within the tool's interface. Initiating this scan will prompt the software to search for any lost or deleted partitions on the selected drive.
Step 5: Preview and Select the Lost Partition
Once the scan is complete, the tool will display a list of found partitions. Preview the results to identify the partition you want to recover. Pay attention to the size, file system, and any labels associated with the partitions to ensure you're selecting the correct one.
Step 6: Recover the Partition
After identifying the lost partition, follow the tool's prompts to initiate the recovery process. You'll likely be asked to choose a destination drive for the recovered data. Select a separate drive to avoid overwriting any data on the original drive.
Step 7: Verify Recovered Data
Once the recovery process is complete, it's essential to verify that the recovered data is intact and accessible. Check for the presence of your files and ensure they open without any issues. If you encounter any problems, consider seeking further assistance from a professional data recovery service.
Step 8: Create Backups
After successfully recovering your partition, it's crucial to create backups of your important data. Regular backups help safeguard against future data loss incidents and provide a safety net in case of any unforeseen events.
Conclusion
Recovering a deleted partition may seem like a complex task, but with the right tools and step-by-step guidance, it's entirely achievable, even for beginners. Remember to act quickly, choose the right recovery tool, and avoid using the affected drive until you're ready to start the recovery process. By following these steps, you'll increase your chances of successfully retrieving your lost data and getting back to business as usual.
Welcome to our blog “CYBER SUGGEST“. Debmalya Datta is a professional Blogger, Developer, Social Media Influencer, Digital Marketer and Entrepreneur. He loves doing work which makes him happy, that’s why he choose Blogging and Educate people. You will love exploring educational stuff on our blog. Live your dreams as much as you can. Be a SHAMELESS SELF-PROMOTER
ConversionConversion EmoticonEmoticon